Understanding how we measure ingredients can make or break a dish. It’s one of those kitchen basics that seems simple until you realize there’s more to it than meets the eye.
Dry vs. Liquid Measuring Cups
In American kitchens, we typically measure ingredients by volume. There are measuring cups and spoons instead of a kitchen scale to measure weight. Weighing is more common in professional kitchens and European recipes.
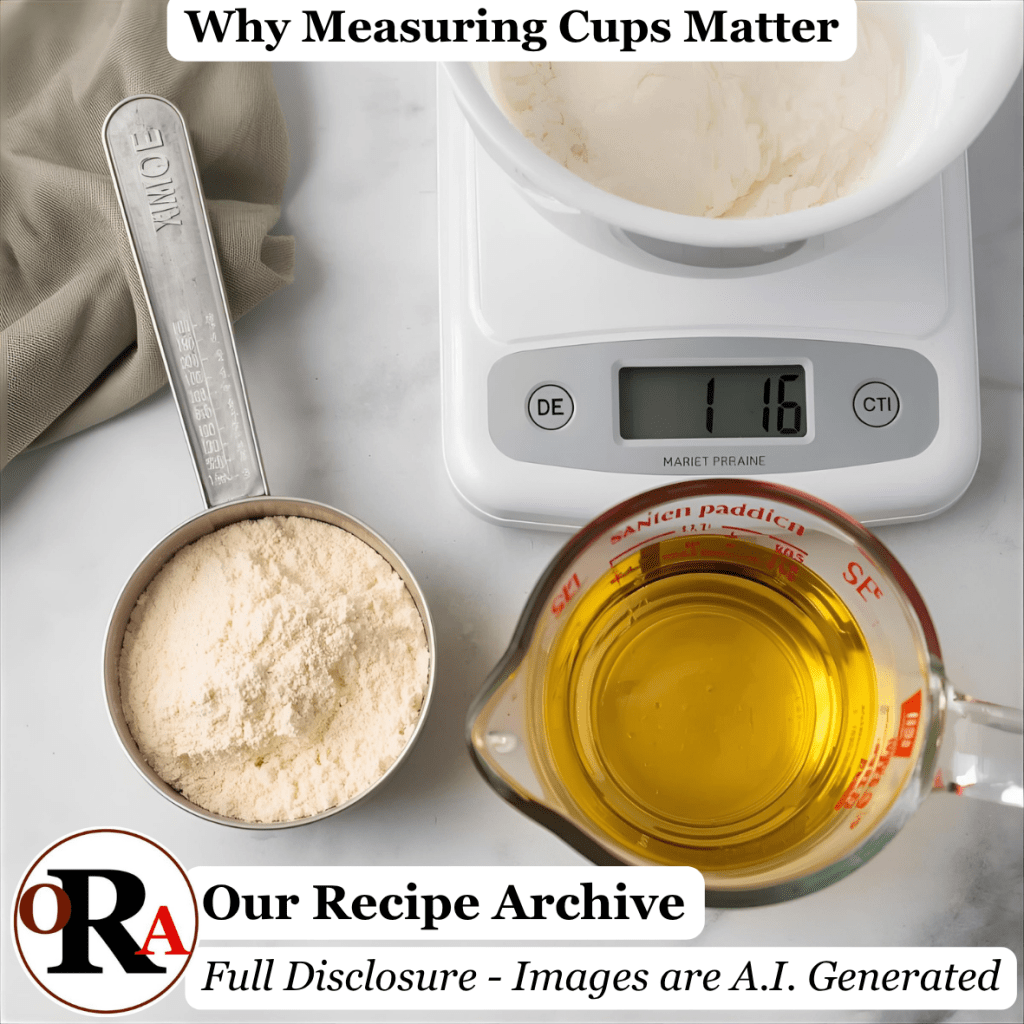
- Dry measuring cups are designed to be filled to the top and leveled off. They’re perfect for flour, sugar, oats, and other solids.
- Liquid measuring cups are clear, with lines on the side, and extra space above the top line so you can pour without spilling. They’re ideal for milk, oil, water, and other liquids.
Why does this matter? Because using the wrong tool can lead to inaccurate measurements. A dry cup filled with milk might spill or be underfilled. A liquid cup filled with flour can’t be leveled off properly. And in baking, even small errors can affect texture, rise, and flavor.
Weighing Ingredients
Professional chefs and recipe developers prefer kitchen scales. Measuring by weight gives you the most accurate results because it accounts for the actual mass of the ingredient, not how it settles or sloshes.
For example:
- 1 cup of flour can weigh anywhere from 120g to 150g depending on how it’s scooped.
- 1 cup of milk will always weigh about 240g.
Scales eliminate guesswork, reduce cleanup, and make scaling recipes easier. But not every home cook uses one. That’s okay for normal daily cooking that doesn’t require precise measurements.
Activities for Elementary-Aged Kids
Make learning fun and hands-on with these simple experiments:
1. The Milk Test
- Give them a dry measuring cup and a liquid measuring cup.
- Ask them to measure 1 cup of water or colored liquid in each.
- Pour both into two identical clear bowls or tall glasses. Compare the levels. Are they the same?
2. The Scoop and Tap
- Let them scoop flour into a dry measuring cup, then tap it down.
- Scoop again without tapping.
- Weigh both on a kitchen scale to show how packing changes the amount.
3. The Spill Challenge
- Fill a dry measuring cup with water to the brim.
- Try walking across the kitchen without spilling. Then do the same with a liquid measuring cup filled to the line. Which one is easier?
Experiments for Teens
Teens can dive deeper with more precise comparisons:
1. Weight vs. Volume Bake-Off
- Make two batches of cookies: one using volume measurements, one using weight.
- Compare texture, spread, and taste. Which one turned out better?
2. Kitchen Level Test
- Place a marble on different kitchen surfaces. Does it roll?
- Use a small level tool to check your counter. Discuss how this affects liquid measurements.
3. Tool Accuracy Audit
- Measure 1 cup of water using different liquid measuring cups.
- Weigh each result. Are they consistent?
Practical Insight for Adults
Want to experience the difference firsthand?
Try This:
- Make a favorite recipe twice. Do it once using cups, and once using a scale.
- Note any changes in texture, flavor, or consistency.
- Reflect on which method felt easier, cleaner, or more reliable.
You can also test your own tools:
- Fill your liquid measuring cup to the 1-cup line, then pour it into a bowl on a scale.
- Repeat with a dry cup filled to the brim. Compare the weights.
Your Kitchen, Your Call
Most home kitchens aren’t perfectly level. And yes, those lines on liquid measuring cups can be hard to read. But for everyday cooking, the difference between “just under” or “just over” a cup probably won’t ruin dinner.
Still, being informed helps you make better choices. If you bake often, a kitchen scale might be worth the investment. If you’re short on space, just dry measuring cups for the job is a simple way to avoid the extra cups.
In the end, it’s about understanding your tools, your habits, and your kitchen. Cook with joy and keep learning as you go.